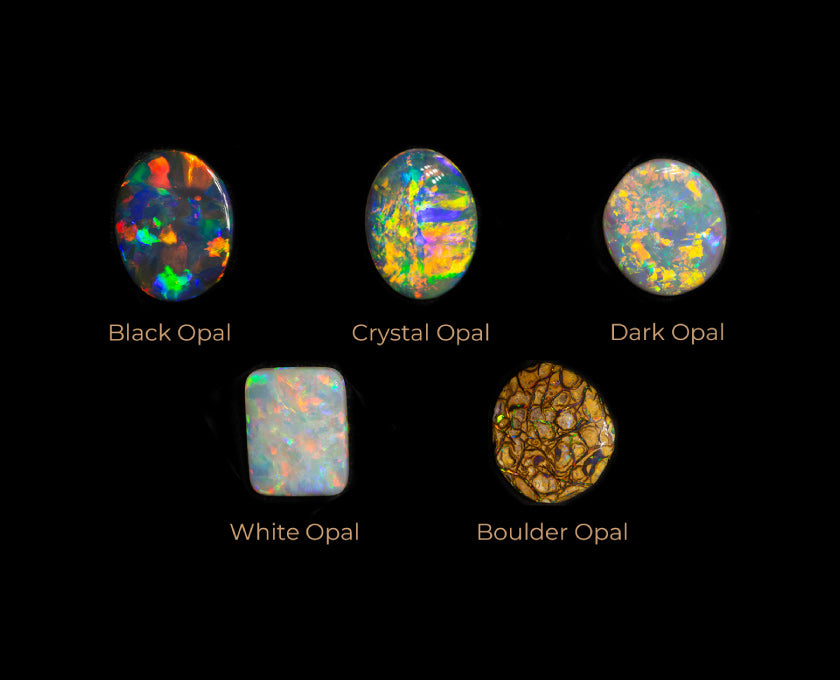
Carving Opal
Carving opal requires patience, a lot of patience, like, soooooo much patience! But, we love doing it right? Taking a Dremel to an opal feels somewhat more organic and makes us feel a little more in touch with our creative side. Although, I cut and polish larger amounts of opal quite regularly, and have become very comfortable with my cutting and polishing wheels. So, cutting with a Dremel becomes a game of patience for me.
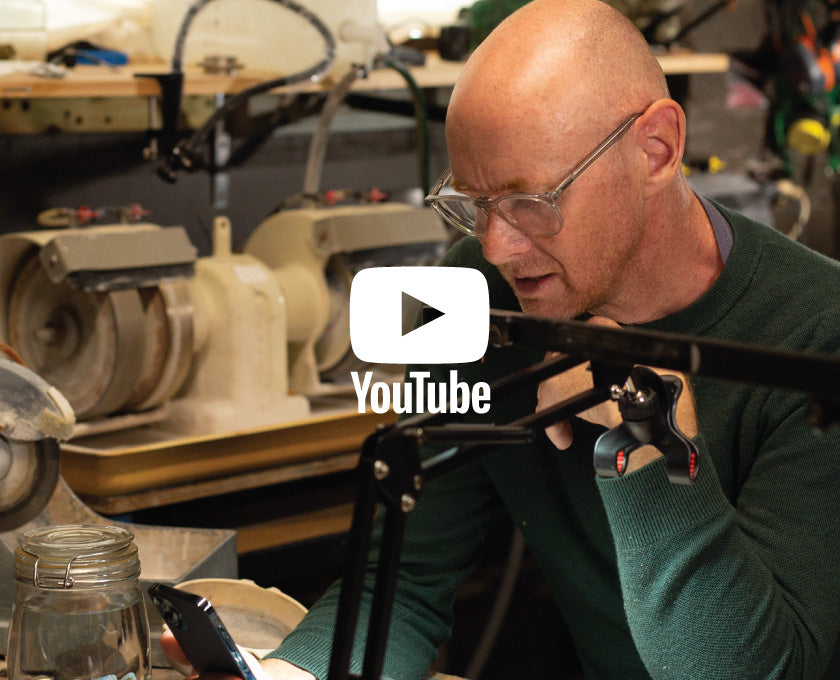
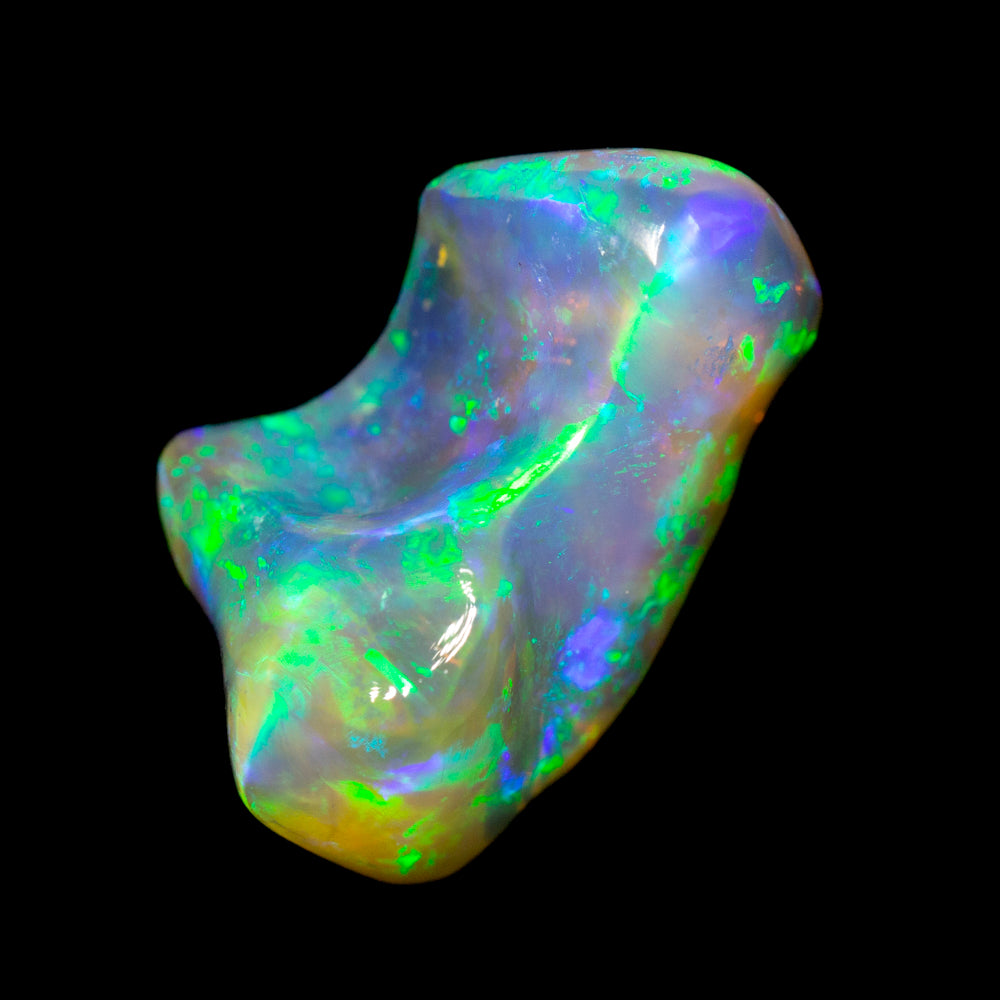
Let the carving begin!
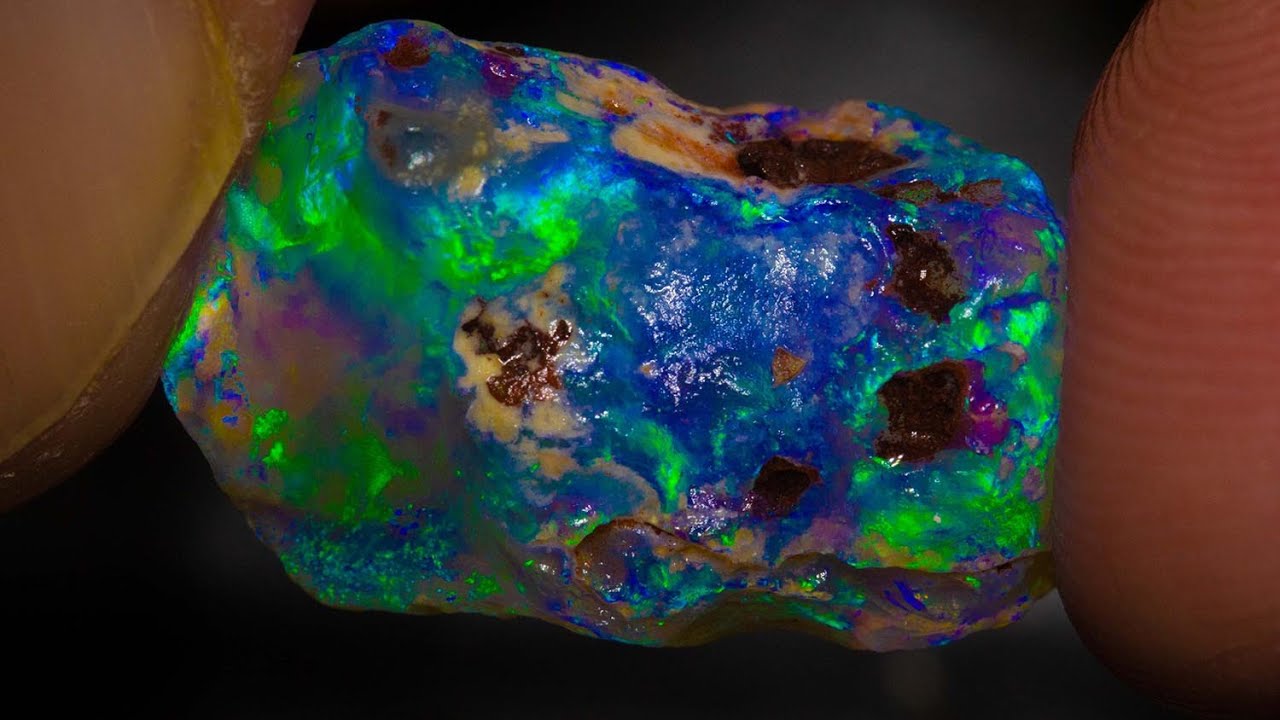
This particular piece of nobby I have chosen has nice skin I can polish all the way around. I will be trialing some new Dremel tips that contain more diamonds than any others on the market. We will be stocking these Dremel Kits on our website very soon.
For this carving, I use two types of Dremel tips, Sintered Diamond Tips and Resin Bonded Tips. Sintered Diamond Tips will last a lot longer than coated as the diamonds go right into the center where the shaft meets. If you prefer to use Coated Diamond Tips go gentle — press too hard, and the diamonds will rip out of the metal. Leaving you to grind your opal with bare metal.
Firstly, I begin with a 120-grit tip, this is quite rough, maybe a little too rough, but I was able to manage it well. Once the sand spots are out, I will work on smoothing out the edges and polishing the organic shape. The grits I use during this process are — 600, 1200, 3000, and a felt tip with Cerium Oxide.
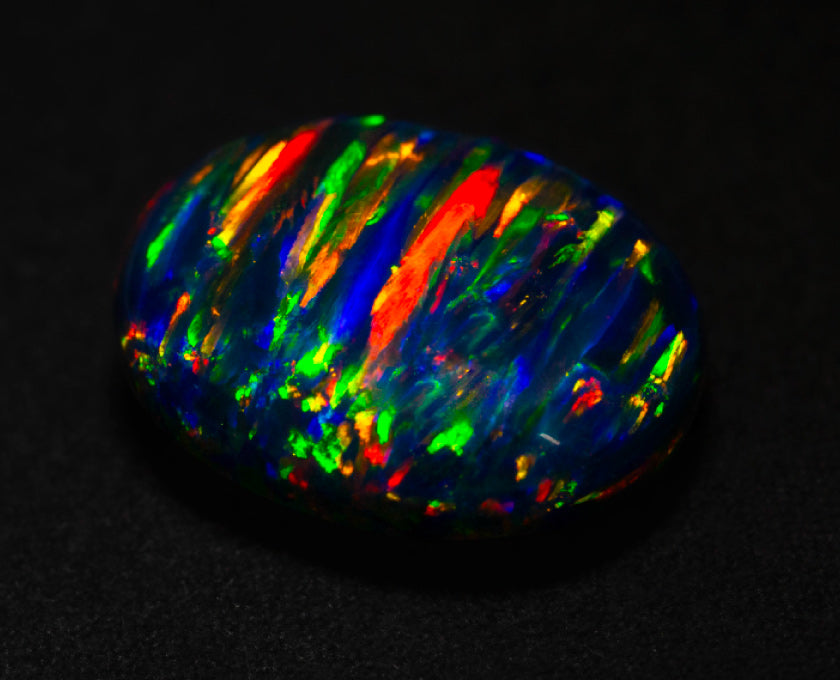
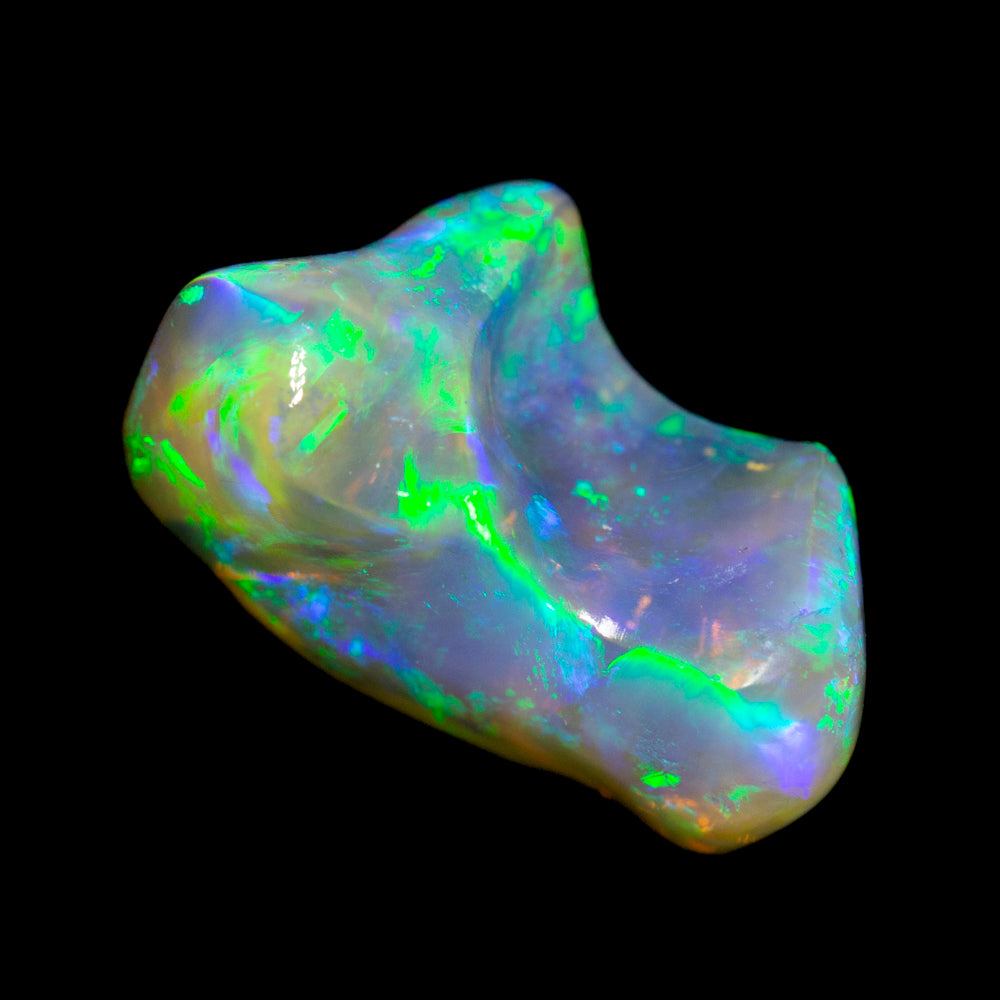
The final gem!
After a long, long, long cut and polish, we ended up with an 8.75ct gem worth $2000. If I had cut this into an oval shape, the result would have been a 4ct gem worth $2000. You can find the final crystal opal gem here.
Thanks for joining me for something a little different, I hope you enjoyed it.
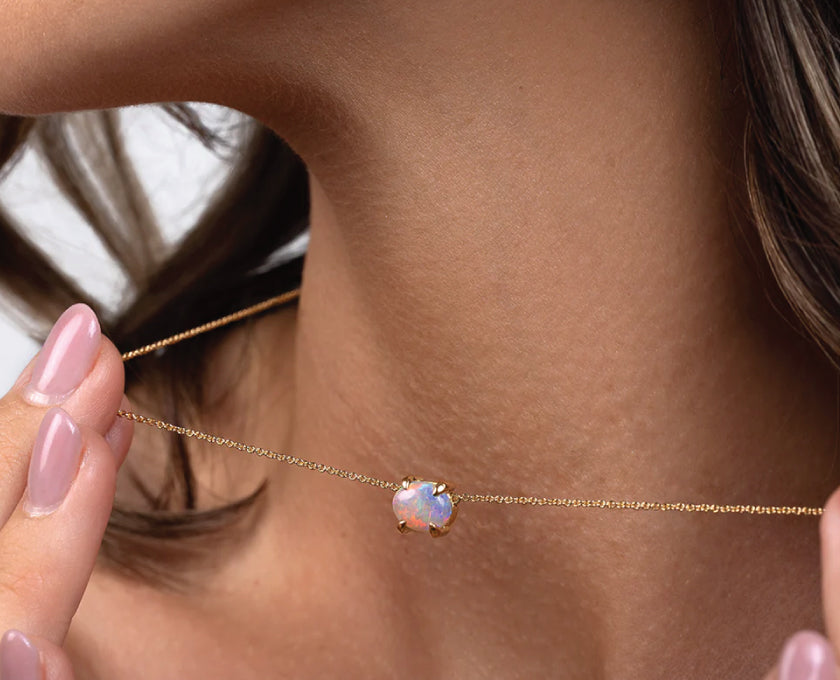
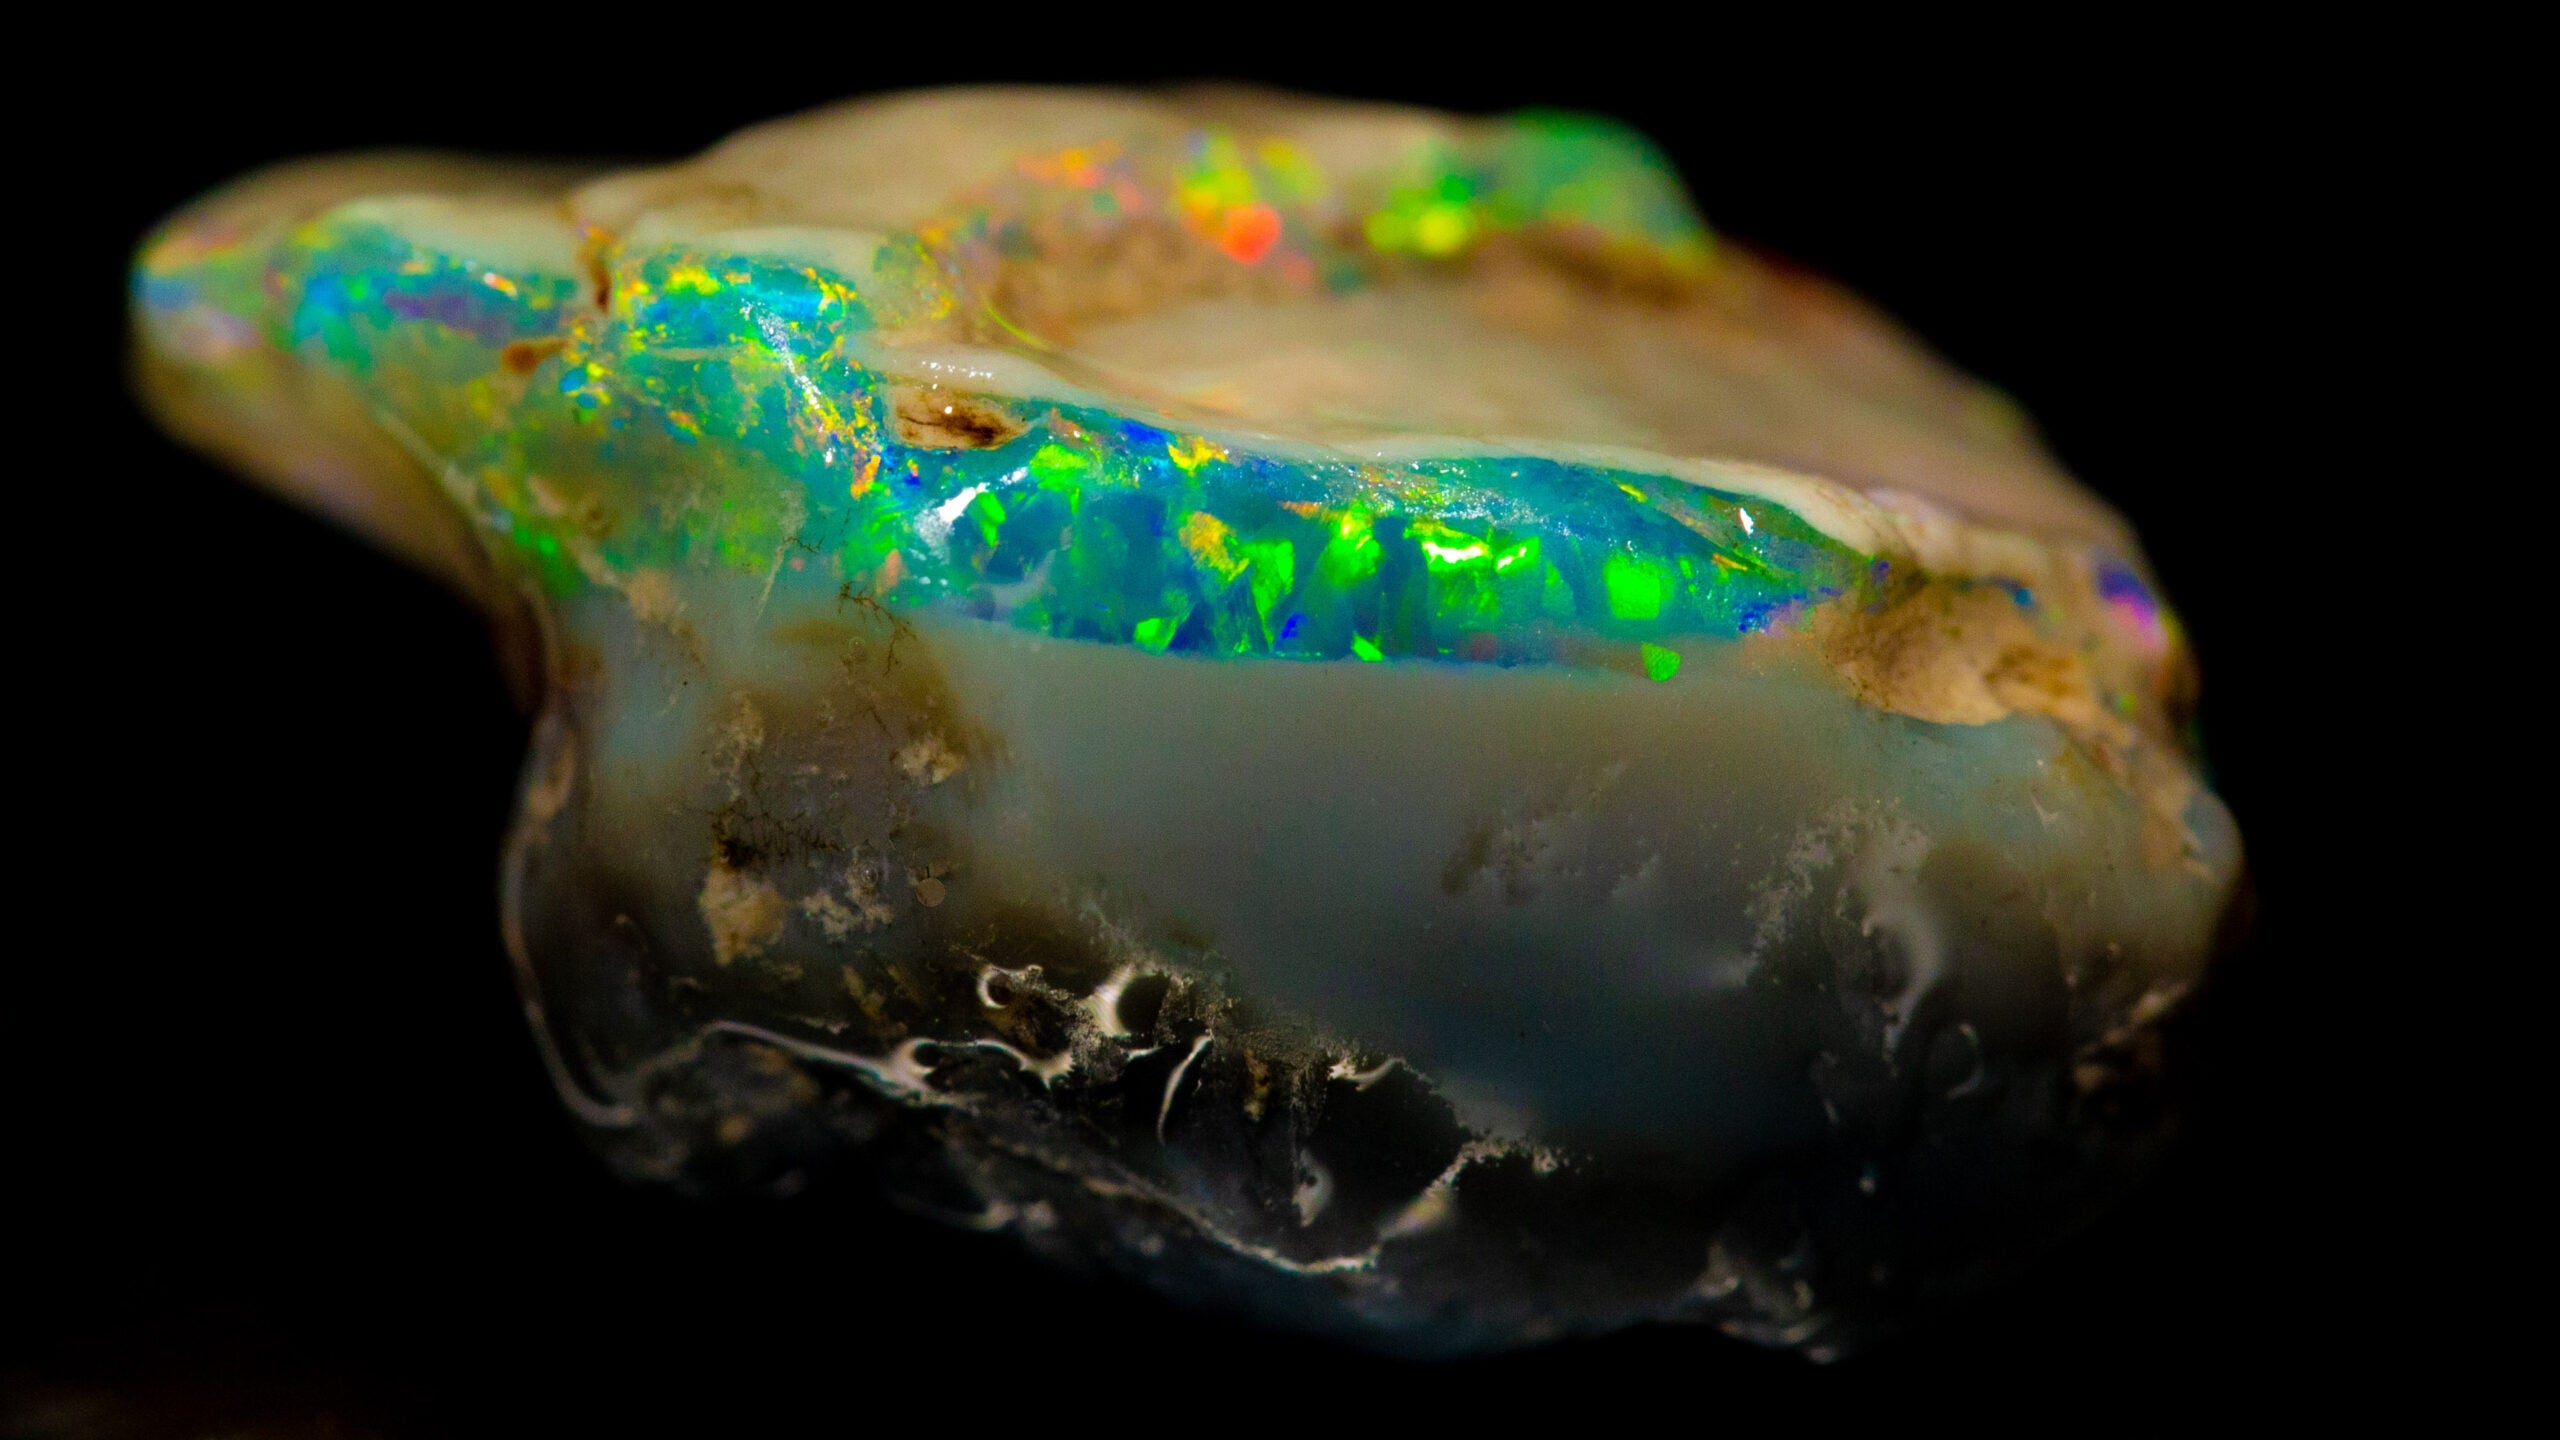
The Final Result
Love the gems cut in the video? Get your hands on them before somebody else beats you to it!
Read more
It’s been a very long time since I have had rough opal treasures from the old T-Bone Field in Lightning Ridge. It sits behind the Coocoran Fields and is known for its incredible Witches Hat nobbys....
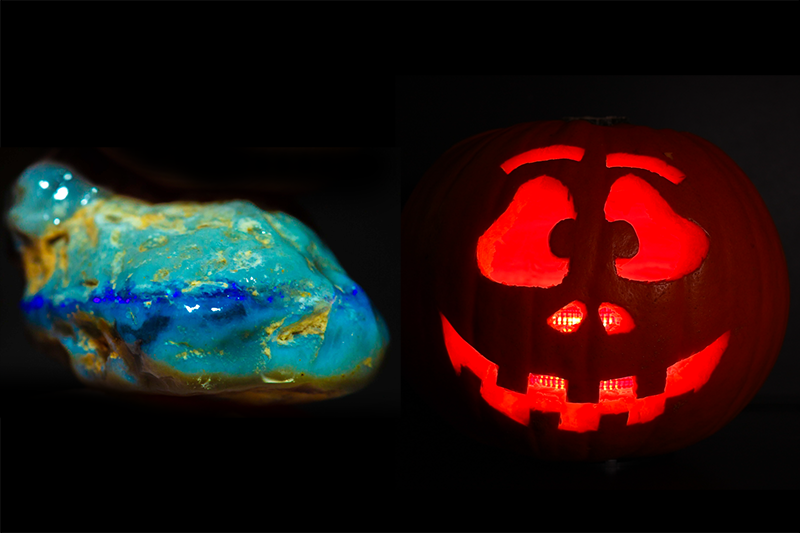
Happy Hal-opal-ween BOD lovers, do we have a (trick or) treat in store for you? Tune in as we uncover an exceptionally spooky nobby opal from Lightning Ridge. You came for the opal cutting but you’...
Leave a comment
All comments are moderated before being published.
This site is protected by hCaptcha and the hCaptcha Privacy Policy and Terms of Service apply.