
Opal Cutting Basics
Today, I’m taking it back to opal cutting basics with this tutorial on everything you need to know to get started!
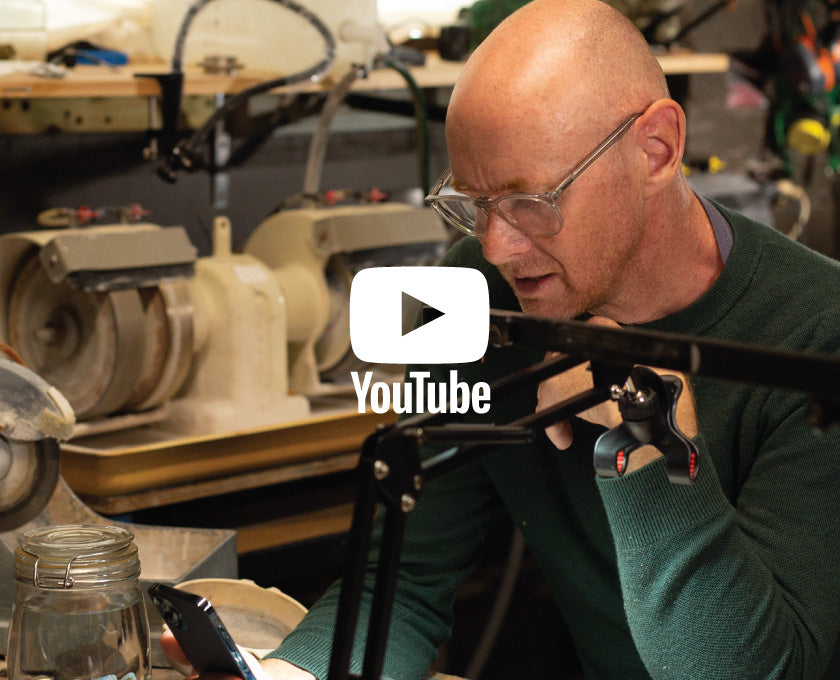
You might recognise today’s cohost from my opal cutting for kids tutorial where he hilariously cackled throughout the entire video. I remember him from such things as… well, his entire life.
My son Saxon joins us for this weeks episode to demonstrate how to cut an opal from one of our Beginner’s Opal Parcels! We’ll take it back to opal cutting basics and teach him how to sort, cut, and polish an opal.
Opal cutting basics #1: Choosing your opal
Before you flick the switch of the cutting wheel, you’ve got to know how to choose your opal. If you’re starting with one of our beginner’s packs, or any rough opal parcel, it’s important to sort through your selection and pick out an opal you think matches your skill level.
Saxon and I chose a piece of opal potch to begin with as I wanted him to get a feel for opal and the machine before tackling anything with color.
Opal cutting basics #2: Learning to shape
Getting a good shape happening on your opal comes down to planning and practice. If you’re new to cutting opal, I’d recommend starting with a simple shape such as an oval, a cushion cut, or a triangle. Once you’ve gained more experience, the opal will speak to you and you will begin to understand how to cut to suit the stone.
We’re not aiming for perfection today, as Saxon is still learning, but we do want to try and get some shape and precision happening. Saxon flattens the face and marks an outline of the oval shape he has decided to cut. With both hands on the stone, we are ready to shape!
How do you know how far to go before you lose the color?
I get this question a lot and the answer is practice! Like most worthwhile things in life, time and practice help you understand your craft. You will know when to stop cutting, to use a fine or rough wheel, and when to take a break to come back with fresh eyes. The more often you cut, the faster you’ll learn.
Opal cutting basics #3: Polishing your opal
The cherry to your sundae or the gauc to your fish taco; polishing your opal well is the final touch to all of your hard work!
Getting your opal stuck centred on the dop stick and then laboriously buffing out any scratches or marks takes patience. With every opal you polish, you will learn and improve.
It is a very time-consuming process but, trust me, it pays off! Just think about how much better a taco is with guac and you’ll understand.
Saxon and I had a lot of fun sorting, cutting, and polishing an opal today and hope that you learnt something, too!
Want to learn more about opal cutting? Check out our Opal Cutting Course
Read more

Are you staying home to help flatten the curve? Let’s spread color and have some fun with this opal coloring in page! Save the image or screenshot, and print your page. Use your imagination to co...
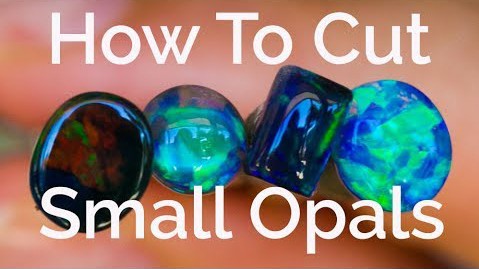
Cutting small gems can be an intimidating task if you’ve never done it before. It is a little more fiddly than cutting a larger gem but, with practice, you can master the few techniques I’ve learnt...
Leave a comment
All comments are moderated before being published.
This site is protected by hCaptcha and the hCaptcha Privacy Policy and Terms of Service apply.